Data Consolidation
Data Consolidation automatically processes files uploaded to a source folder and merges them into a destination dataset. Every time a new file lands in the folder, Mammoth triggers the consolidation—no schedule needed.
How it works
New file uploaded to source folder
        │
        ▼
Mammoth detects the upload
        │
        ▼
Schema validation (columns must be compatible)
        │
        ▼
Consolidate into destination dataset (Combine or Replace)
The consolidation fires on each upload event.
Before you start
- Source folder: A folder in your Data Library that your team uploads files to. Create one if it doesn't exist.
- Destination dataset: The dataset that will receive the consolidated data. It must already exist and have a schema compatible with the files you plan to upload.
- Schema compatibility: All files uploaded to the source folder must have columns that match the destination dataset's schema. How Mammoth handles mismatches depends on the destination dataset's If column type doesn't match and column mapping settings. See Add or replace data.
Creating a Data Consolidation automation
Step 1: Open the automation wizard
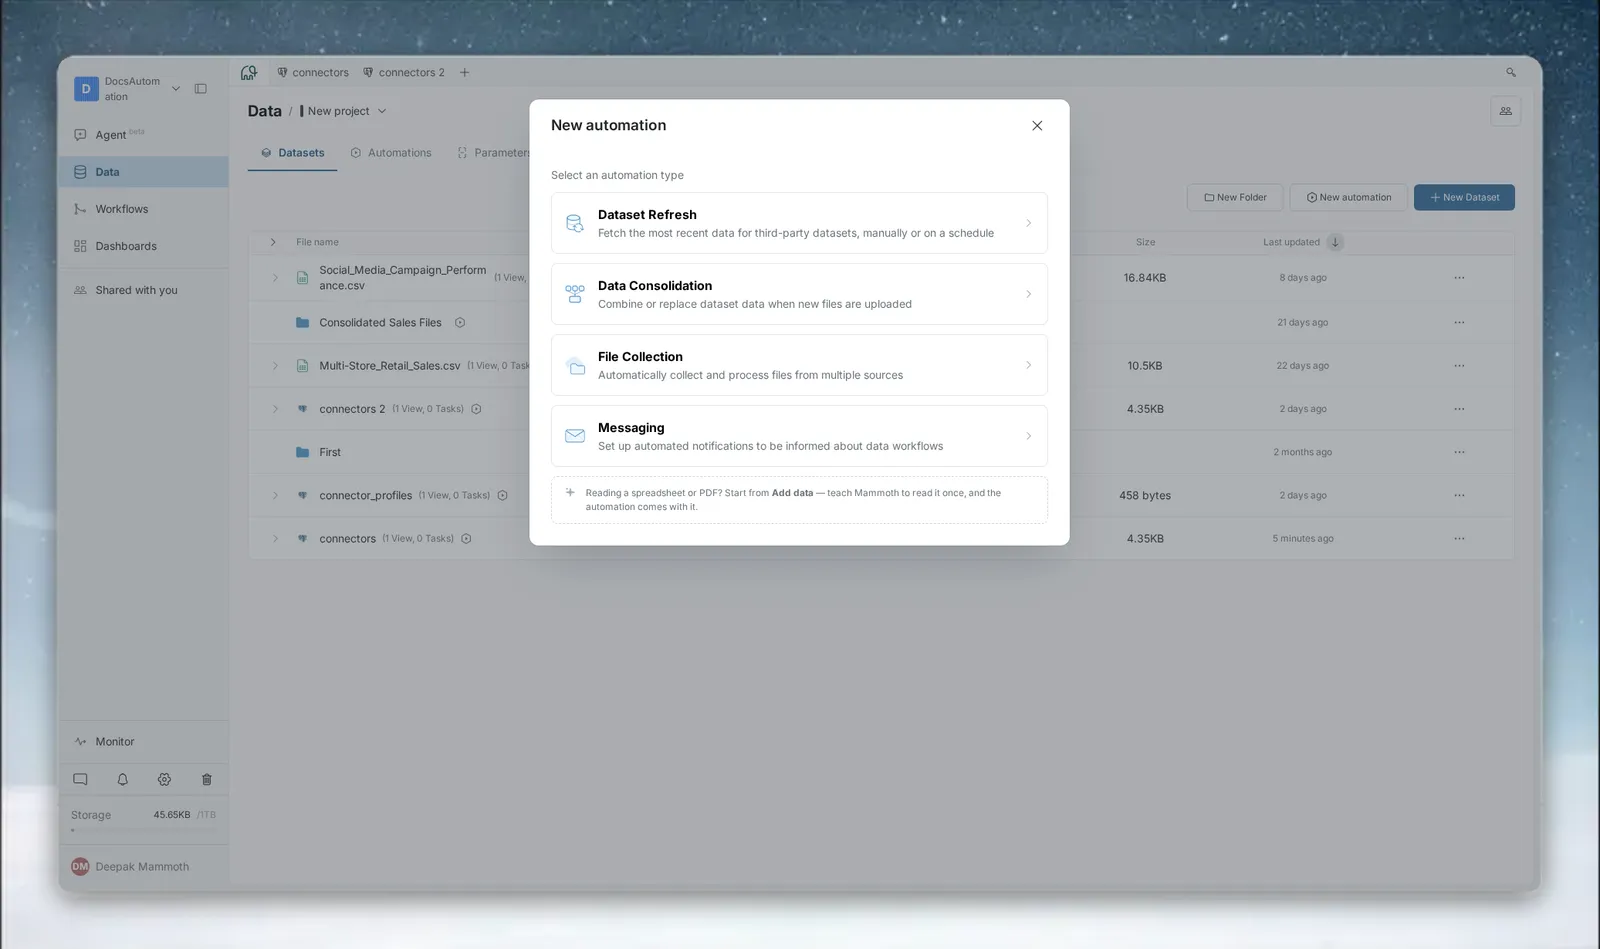
Open the New Automation entry point (available from the Data Library header, a folder's empty-state, or a resource's context menu), then select Data Consolidation from the automation type picker.
The wizard opens as a modal with a step indicator at the top. For Data Consolidation it walks through Select source folder, Select destination, and Review & save.
Step 2: Select the source folder
In the Select source folder step, choose the folder that contains (or will contain) the incoming files.
Once selected, the folder name appears. Any file uploaded to this folder after you create the automation will trigger consolidation.
You can also refine which files are processed:
- Turn on Include subfolders to also process files added to subfolders of the selected folder.
- Turn on Only process files matching a name pattern to pick up only files whose names match a pattern. Choose a match type — Starts with, Ends with, Contains, or Matches exactly — and enter the text to match. Optionally turn on Case sensitive to require an exact-case match. If you leave name-pattern matching off, all file names are allowed and every file in the folder is processed.
The "Select source folder" wizard step, showing the selected source folder with the "Switch" action, the "Include subfolders" checkbox, and the expanded name-pattern controls (match-type dropdown, text input, and Case sensitive checkbox)
Match type reference:
| Match type | Matches a file when its name... |
|---|---|
| Starts with | begins with the text you enter |
| Ends with | ends with the text you enter |
| Contains | includes the text you enter anywhere |
| Matches exactly | is identical to the text you enter (aside from case, unless Case sensitive is on) |
By default, matching is not case sensitive (Invoice and invoice are treated the same). Turn on Case sensitive if you need an exact-case match.
If you're editing an automation that was created before these options existed, its original "contains text" filter is preserved automatically and shown as a Contains match when you open it for editing.
Step 3: Select the destination dataset
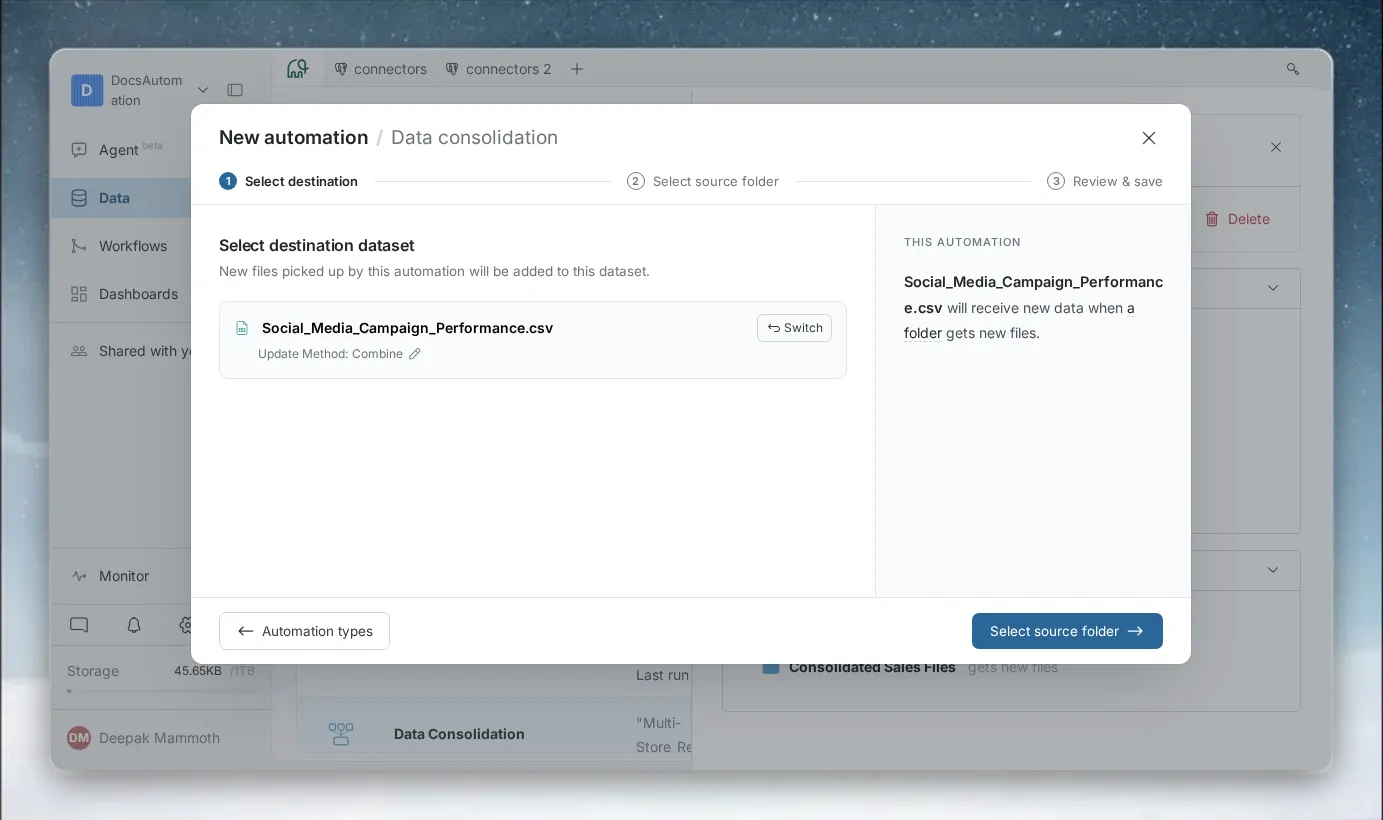
In the Select destination step, choose the dataset that receives the data.
"Data from the source folder will be added to this dataset."
The destination dataset must have a schema that's compatible with the files in your source folder. From this step you can also switch the destination dataset, and adjust its update/mapping settings or new-data settings inline.
Step 4: Review and save
In the Review & save step, name the automation, optionally add a description, review the summary of the source folder, destination dataset, and filter settings, then click Save automation.
The "Review & save" wizard step, showing the Name and Description fields along with the automation summary listing Type, source folder, and destination dataset
Consolidation modes
Mammoth offers two modes for how incoming data is written to the destination dataset:
| Mode | Behavior | Best for |
|---|---|---|
| Combine | Appends rows from the new file to the existing dataset. Data accumulates over time. | Incremental data (daily transactions, event logs) |
| Replace | Overwrites the destination dataset with the contents of the new file. Previous data is removed. | Full snapshots (weekly inventory exports) |
Configure the update method on the destination dataset before creating the automation.
Schema requirements
Data Consolidation validates column schemas before merging. The columns in uploaded files must be compatible with the destination dataset's schema. This is a separate check from the file name filtering described in Step 2: Select the source folder — a file can match your name pattern and still fail here if its columns don't line up with the destination dataset.
What Mammoth checks:
- Column names must match (by display name)
- Data types must be compatible
If a schema mismatch occurs:
- Depending on the dataset's settings, Mammoth converts the column to text, converts incompatible values to null, or does not update the dataset
- If the consolidation fails, the automation status shows Error
Keep your source files consistent. If different team members upload files with slightly different column names, the columns may not map to the destination dataset. Define a standard template for uploads.
Monitoring consolidations
Click the automation row to open the detail panel. The Automation Summary shows:
- The source folder name
- The destination dataset(s)
- The last run result (Success or failure reason)
The automation status in the list reflects the outcome of the most recent consolidation:
| Status | Meaning |
|---|---|
| Active | Watching the folder; last consolidation succeeded |
| Error | The automation has an error (for example, a deleted source or destination) |
| Suspended | Paused—uploads to the folder will not trigger consolidation |
Troubleshooting
Status shows Error after a file upload
Cause: The uploaded file's columns or data types do not match the destination dataset schema.
Fix: Open the detail panel and check the Last run result. Compare the uploaded file's columns with the destination dataset schema, then correct the file and upload it again.
Source folder or destination dataset was deleted
Cause: The automation references a folder or dataset that no longer exists. It shows an error indicator.
Fix: Edit the automation to point to new resources, or delete it.