Microsoft Dynamics connector
The Microsoft Dynamics connector imports CRM and business data from your Microsoft Dynamics 365 environment into Mammoth as a dataset. Authentication uses Azure app credentials (Tenant ID, Client ID, Client Secret)—this is an app-level connection, not tied to an individual user account.
Before you start
You need to register an Azure Active Directory app with access to your Dynamics 365 environment. This is a one-time setup, typically done by a Microsoft 365 / Dynamics admin.
Register the Azure AD app
- Go to Azure Portal → Azure Active Directory → App registrations
- Click New registration—name it (e.g.,
Mammoth Dynamics) and click Register - Copy the Application (client) ID—this is your Client ID
- Copy the Directory (tenant) ID—this is your Tenant ID
- Go to Certificates & secrets → New client secret, add a description, set an expiry, and click Add
- Copy the secret Value immediately (it won't be shown again)—this is your Client Secret
- In your Dynamics 365 admin center, add the app as an application user with a security role that has read access to the entities you want to import
You'll also need your Dynamics 365 environment's organization URL, for example https://yourorg.crm.dynamics.com. Use your environment-specific URL, not the Microsoft discovery service URL (organizations.crm.dynamics.com).
Step 1: Select the Microsoft Dynamics connector
- In Mammoth, go to Data Library and click + New Dataset
- Select Connectors
- Search for Microsoft Dynamics or find it in the CRM & Marketing category
- Click the Microsoft Dynamics tile
Step 2: Create a connection
Click New Connection to open the credential form.
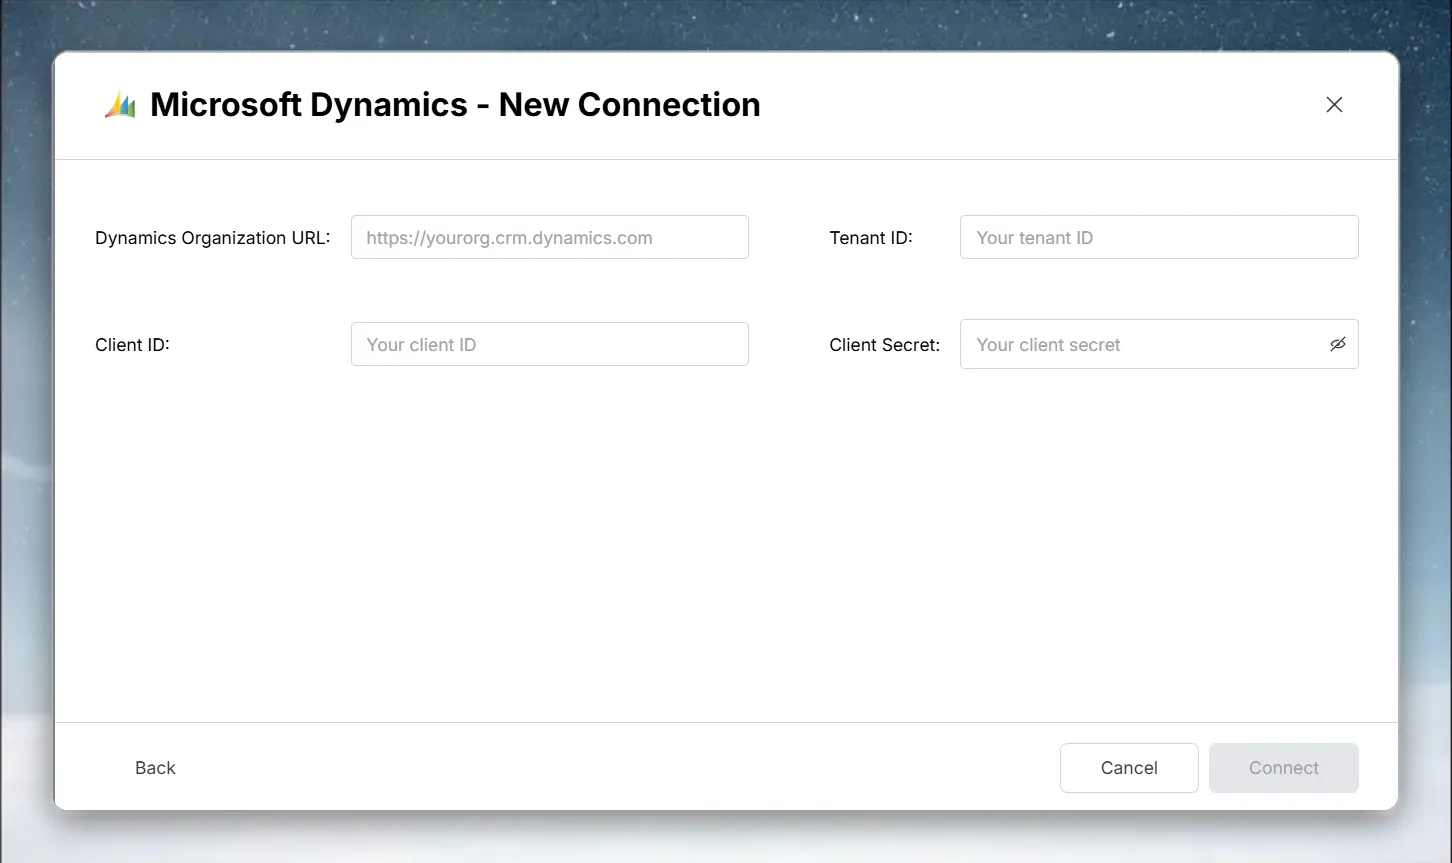
| Field | Description | Example |
|---|---|---|
| Dynamics Organization URL | Your Dynamics 365 environment URL | https://yourorg.crm.dynamics.com |
| Tenant ID | Azure AD Directory (tenant) ID | xxxxxxxx-xxxx-xxxx-xxxx-xxxxxxxxxxxx |
| Client ID | Azure AD Application (client) ID | yyyyyyyy-yyyy-yyyy-yyyy-yyyyyyyyyyyy |
| Client Secret | The app secret value you created | — |
All four fields are required. Click Connect once they're filled in—there's no OAuth sign-in step, since the connector authenticates directly with the app credentials above. If validation fails, the error message appears at the bottom of the form.
Step 3: Select a Dynamics entity and query your data
Select the connection under Existing Connections to open the query builder. The List of tables panel shows the tables this connector exposes. Click a table to load a SELECT * query for it and its preview.
Write a custom Dynamics query
Edit the SQL in the Enter SQL query editor and click Run. Use the table and column names shown in the table list and the preview.
See Understanding data preview & query for a full guide to the preview screen.
Step 4: Save the Dynamics dataset
- Enter a dataset name in the Save table as field
- Check the Update Method (the default is Replace all data). To change it, click the edit icon, pick an option, and click Save changes:
- Replace all data—Replaces all existing data
- Add new data—Adds new data based on a unique sequential column
- Replace with new data—Replaces existing data with new data based on a unique sequential column For Add new data and Replace with new data, also choose a Key column—a numeric or date column with incrementing values, such as an ID or a date.
- Click Save as dataset. When the dataset is saved, click Done
Troubleshoot Microsoft Dynamics connections
Authentication fails
- Mammoth shows "Authentication Failure. Please check your Microsoft credentials." when the credentials are rejected. Check all four values (Dynamics Organization URL, Tenant ID, Client ID, Client Secret) are copied correctly
- If Mammoth says the Organization URL appears to be the Microsoft Discovery Service URL, replace it with your environment-specific URL, for example
https://yourorg.crm.dynamics.com
Access denied (403)
- Ensure the app registration has been added as an Application User in your Dynamics 365 environment with the required security role
Client secret expired
- Client secrets expire based on the duration you set during creation—generate a new secret in Azure Portal and update the connection in Mammoth
Entity not visible in the list
- Confirm the app's application user has a security role granting read access to that entity in Dynamics 365