Snowflake connector
The Snowflake connector imports data from your Snowflake cloud data warehouse into Mammoth as a dataset. Select tables from any schema or write custom SQL queries.
Before you start
You need:
- A Snowflake account with a warehouse and database you want to query
- A Snowflake user with at minimum
USAGEon the warehouse and database, andSELECTon the relevant schemas and tables - Your Snowflake Host URL, Username, Password, Database, Warehouse, Account, and Role Name (all are required)
- Mammoth's IP address added to your Snowflake network policy, if your account uses one—see Network requirements
Step 1: Select the Snowflake connector
- In Mammoth, go to Data Library and click + New Dataset
- Select Connectors
- Search for Snowflake
- Click the Snowflake tile
Step 2: Create a connection
Click New Connection to open the credential form.
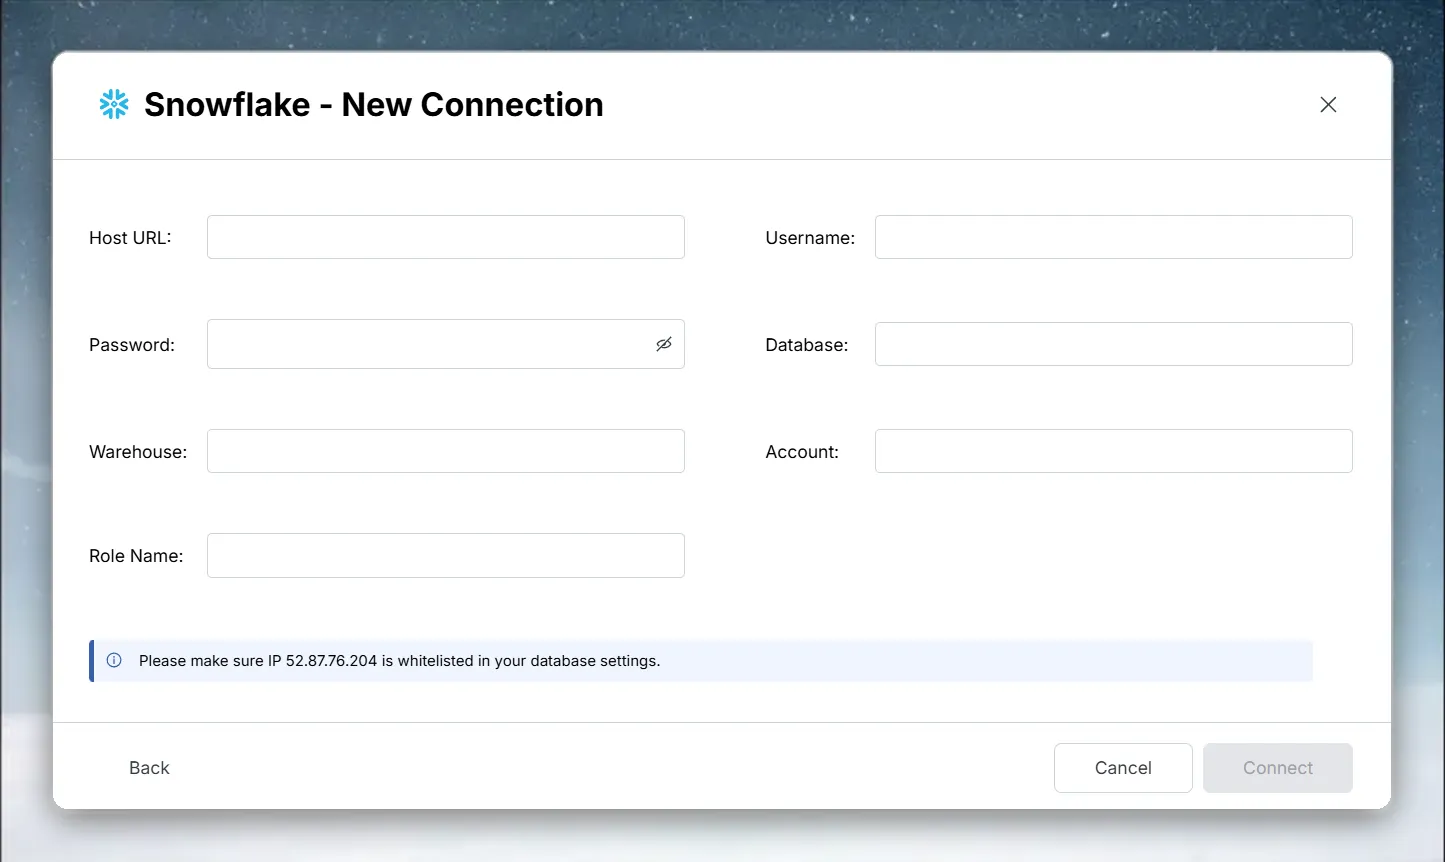
| Field | Description | Example |
|---|---|---|
| Host URL | Your Snowflake account URL | myorg-myaccount.snowflakecomputing.com |
| Username | Snowflake user | mammoth_reader |
| Password | Password for the Snowflake user | — |
| Database | Name of the Snowflake database | ANALYTICS_DB |
| Warehouse | Snowflake virtual warehouse to run queries | COMPUTE_WH |
| Account | Your Snowflake account identifier | myorg-myaccount |
| Role Name | Snowflake role to use (must have table access) | MAMMOTH_ROLE |
Find your Snowflake account identifier
Your Snowflake account identifier typically has the form organization-account (for example, acme-analytics), and your account URL is {account}.snowflakecomputing.com.
Tip: Minimum required permissions
GRANT USAGE ON WAREHOUSE COMPUTE_WH TO ROLE MAMMOTH_ROLE;
GRANT USAGE ON DATABASE ANALYTICS_DB TO ROLE MAMMOTH_ROLE;
GRANT USAGE ON ALL SCHEMAS IN DATABASE ANALYTICS_DB TO ROLE MAMMOTH_ROLE;
GRANT SELECT ON ALL TABLES IN DATABASE ANALYTICS_DB TO ROLE MAMMOTH_ROLE;
After filling in the fields, click Connect. Mammoth validates the credentials and saves the connection; if validation fails, the error message appears at the bottom of the form.
Step 3: Select a Snowflake schema and query your data
Select a Snowflake schema
Select your connection under Existing Connections, then click a schema in the Schema list. If the database has only one schema, Mammoth opens it automatically.
Browse Snowflake tables
Click any table in the List of tables panel to load a SELECT * query for it and its preview.
Write a custom Snowflake query
Edit the SQL in the Enter SQL query editor and click Run:
SELECT order_id, customer_id, amount, order_date
FROM ANALYTICS_DB.SALES.ORDERS
WHERE order_date >= DATEADD(day, -90, CURRENT_DATE())
  AND status = 'COMPLETED'
See Understanding data preview & query for a full guide.
Step 4: Save the Snowflake dataset
- Enter a dataset name in the Save table as field
- Check the Update Method (the default is Replace all data). To change it, click the edit icon, pick an option, and click Save changes:
- Replace all data—Replaces all existing data
- Add new data—Adds new data based on a unique sequential column
- Replace with new data—Replaces existing data with new data based on a unique sequential column For Add new data and Replace with new data, also choose a Key column—a numeric or date column with incrementing values, such as an ID or a date.
- Click Save as dataset. When the dataset is saved, click Done
Allow Mammoth in your Snowflake network policy
If your Snowflake account has a network policy restricting IP access, add Mammoth's IP address to the allowed IP list of that policy in Snowflake. The connection form shows the IP address to allow. See Network requirements.
Troubleshoot Snowflake connections
Authentication fails
- Verify the Account value—it should match your Snowflake account identifier exactly, without the
.snowflakecomputing.comsuffix - Check the role has access to the warehouse, database, and schemas