Xero connector
The Xero connector imports accounting and financial data from your Xero organisation into Mammoth as a dataset. Authenticate with OAuth—no API keys required. Supports AI query generation for natural-language data selection.
Before you start
You need:
- A Xero account with access to at least one organisation
Step 1: Select the Xero connector
- In Mammoth, go to Data Library and click + New Dataset
- Select Connectors
- Search for Xero
- Click the Xero tile
Step 2: Authenticate with Xero
Click New Connection to start the OAuth flow.
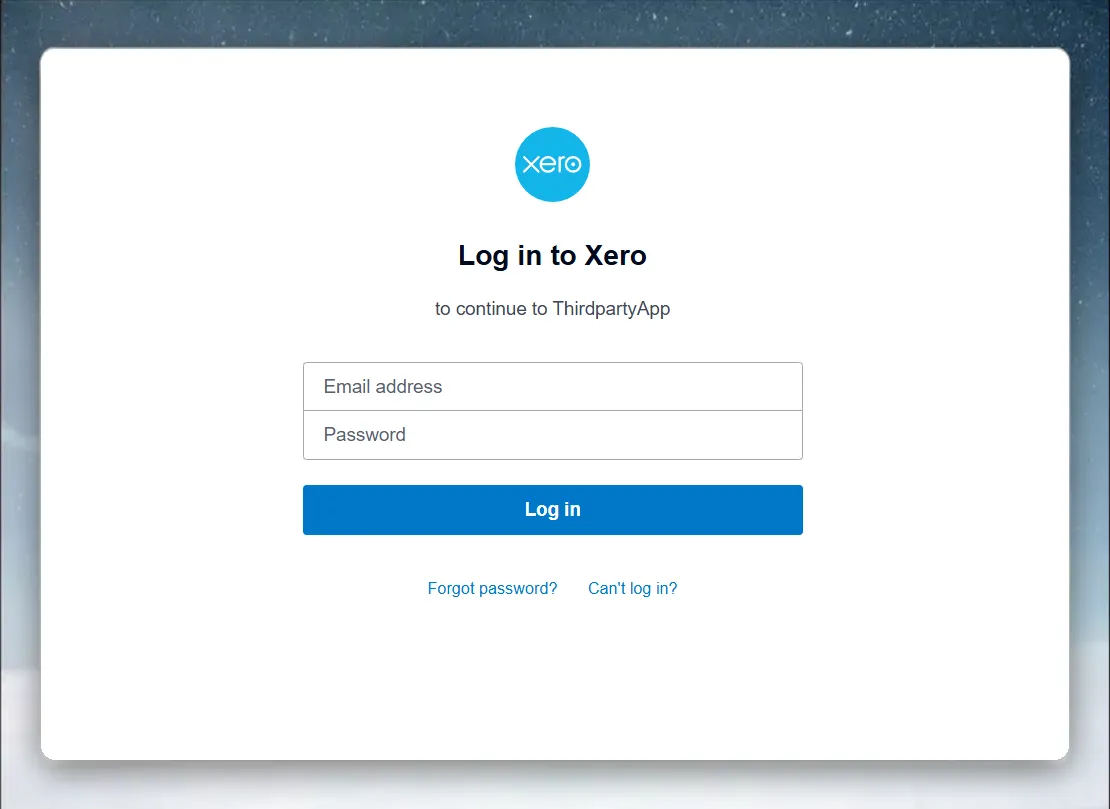
Mammoth sends you to Xero's authorization page in the same browser tab. Sign in with your Xero account and authorize Mammoth. You're redirected back to Mammoth automatically.
Step 3: Select a Xero organisation (profile)
After authentication, select the connection under Existing Connections. Mammoth lists the Xero organisations your account can access as Profile entries. Click the organisation you want to import data from. If your account has only one organisation, Mammoth opens it automatically.
Step 4: Select Xero data and query
The List of tables panel shows the tables this connector exposes for the organisation. Click a table to load a SELECT * query for it and its preview.
Write a custom Xero query
Edit the SQL in the Enter SQL query editor and click Run. Use the table and column names shown in the table list and the preview.
Generate a Xero query with AI
Use the Describe the data you need... box above the query editor to tell Mammoth what you want in plain language—for example, "all overdue invoices from this quarter"—and click the generate button. Mammoth writes the SQL query based on your table structure and description. The box appears only when AI query is enabled for your workspace, and it is disabled while Mammoth sets up metadata for AI query.
See Understanding data preview & query for a full guide.
Step 5: Save the Xero dataset
- Enter a dataset name in the Save table as field (e.g., "Xero Invoices")
- Check the Update Method (the default is Replace all data). To change it, click the edit icon, pick an option, and click Save changes:
- Replace all data—Replaces all existing data
- Add new data—Adds new data based on a unique sequential column
- Replace with new data—Replaces existing data with new data based on a unique sequential column For Add new data and Replace with new data, also choose a Key column—a numeric or date column with incrementing values, such as an ID or a date.
- Click Save as dataset. When the dataset is saved, click Done
Troubleshoot Xero connections
Authorization does not complete
- Mammoth sends you to Xero in the same browser tab and returns you to Mammoth afterwards. If you close the tab or deny access, start the connection again
Organisation not visible
- Confirm the Xero user has been granted access to the organisation in Xero. Mammoth shows "No profiles could be found for the connection" followed by the connection name when it finds none.
Data appears outdated
- Mammoth imports the data when you save the dataset and on each refresh. Set up a Dataset Refresh automation to refresh on a schedule.