SendGrid connector
The SendGrid connector imports email delivery data from your SendGrid account into Mammoth as a dataset. Authentication uses a SendGrid API key—no OAuth flow required.
Before you start
You need:
- A SendGrid account
- A SendGrid API key with read access to the data you want to import
Create a SendGrid API key
- In SendGrid, go to Settings → API Keys
- Click Create API Key
- Give it a name (e.g.,
Mammoth Integration) - Under API Key Permissions, select Restricted Access
- Grant read access to the data you want to import
- Click Create & View and copy the API key—it won't be shown again
Step 1: Select the SendGrid connector
- In Mammoth, go to Data Library and click + New Dataset
- Select Connectors
- Search for SendGrid or find it in the CRM & Marketing category
- Click the SendGrid tile
Step 2: Create a connection
Click New Connection to open the credential form.
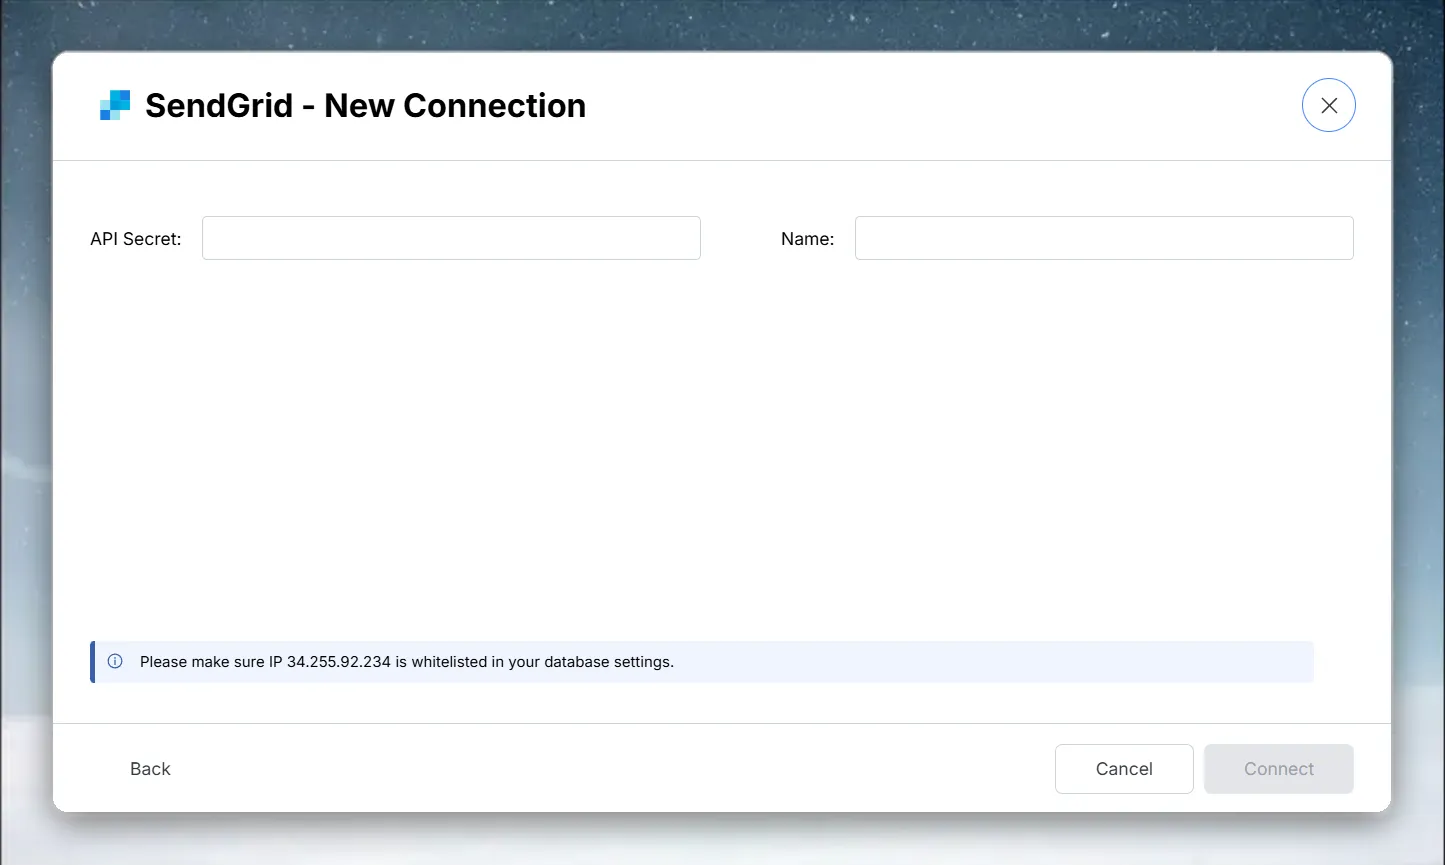
| Field | Description |
|---|---|
| API Secret | Your SendGrid restricted API key (the form labels this field "API Secret") |
| Name | A label for this connection (required) |
A callout below the fields shows Mammoth's IP address and reminds you to whitelist it if your SendGrid account restricts API access by IP—see Network requirements.
Click Connect. Mammoth validates the API key and saves the connection; if validation fails, the error message appears at the bottom of the form.
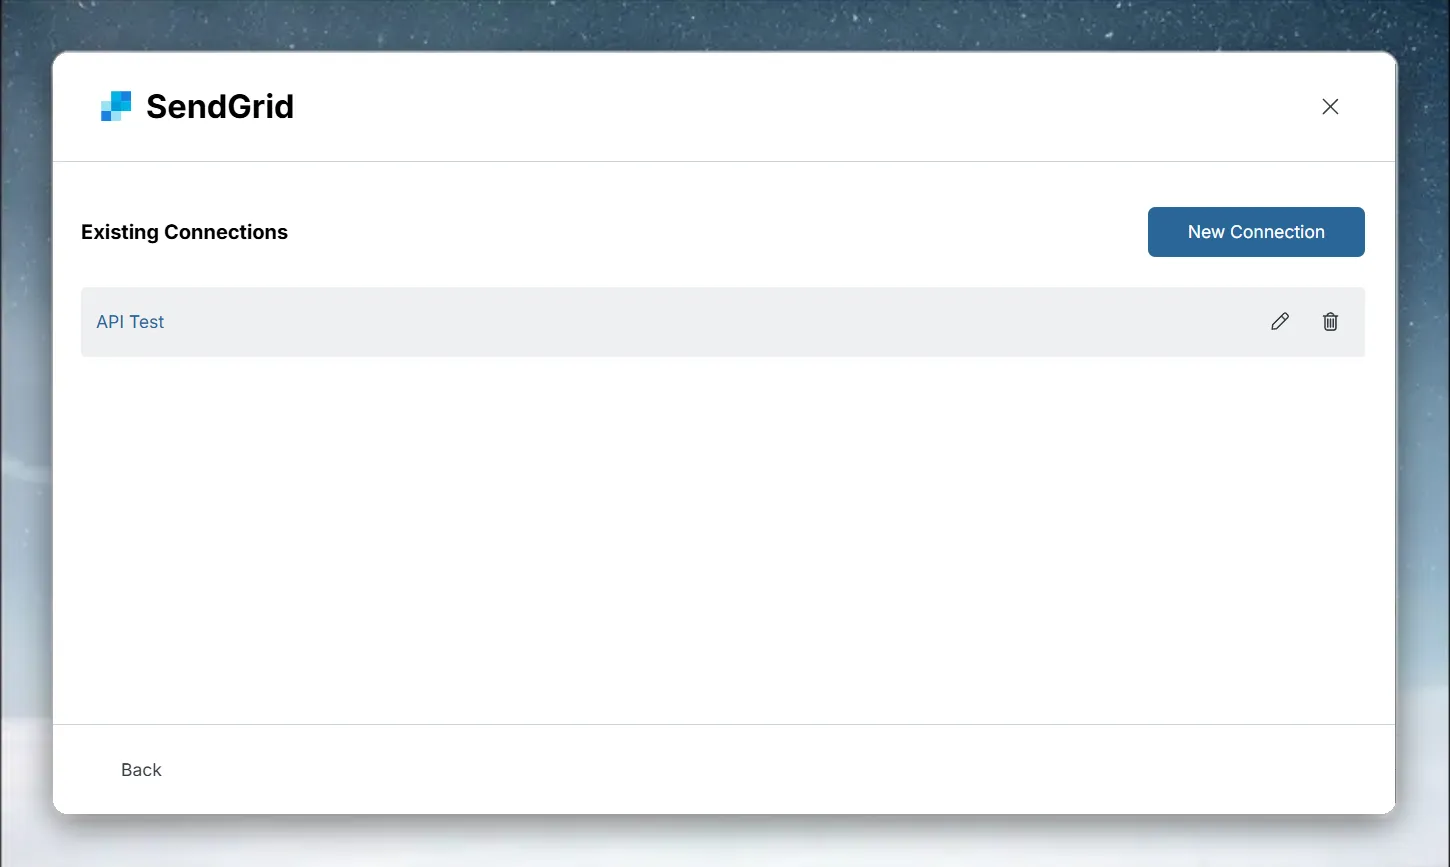
Step 3: Select SendGrid data and query
Select the connection under Existing Connections to open the query builder. The List of tables panel shows the tables this connector exposes. Click a table to load a SELECT * query for it and its preview.
Write a custom SendGrid query
Edit the SQL in the Enter SQL query editor and click Run. Use the table and column names shown in the table list and the preview.
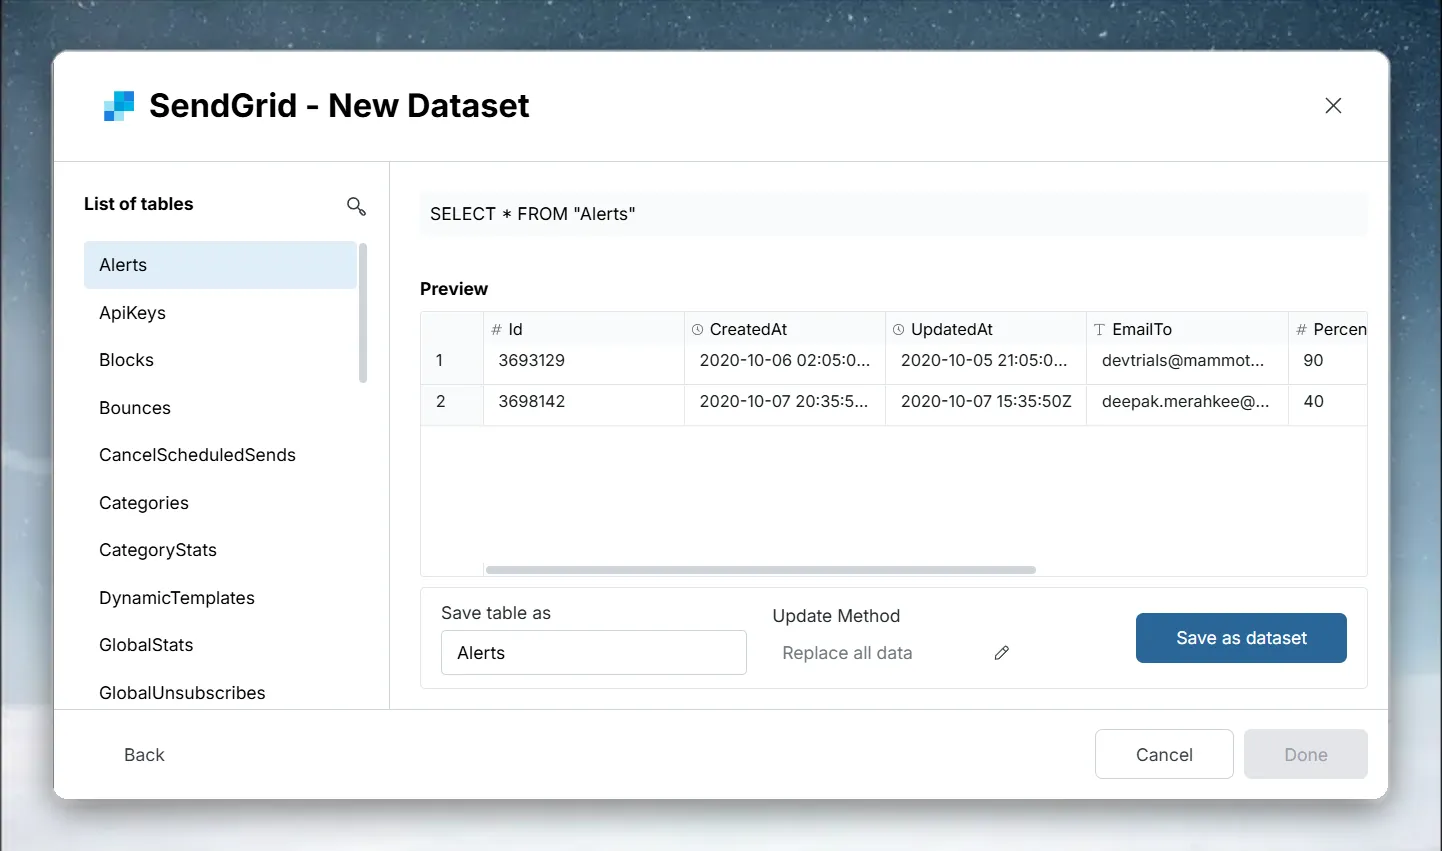
See Understanding data preview & query for a full guide.
Step 4: Save the SendGrid dataset
- Enter a dataset name in the Save table as field (e.g., "SendGrid Email Stats")
- Check the Update Method (the default is Replace all data). To change it, click the edit icon, pick an option, and click Save changes:
- Replace all data—Replaces all existing data
- Add new data—Adds new data based on a unique sequential column
- Replace with new data—Replaces existing data with new data based on a unique sequential column For Add new data and Replace with new data, also choose a Key column—a numeric or date column with incrementing values, such as an ID or a date.
- Click Save as dataset. When the dataset is saved, click Done
Allow Mammoth's IP address in SendGrid
If your SendGrid account restricts API access by IP, add Mammoth's IP address, shown on the connection form, to the allowed list—see Network requirements.
Troubleshoot SendGrid connections
Authentication fails
- Mammoth shows
Entered api key is not valid, Please enter the valid api keywhen the key is rejected - Confirm the API key is copied completely (they're long strings)
- Check the API key permissions include access to the data you're trying to query