Connect your Shopify store to Mammoth
The Shopify connector imports e-commerce data from your Shopify store into Mammoth as a dataset. You enter your store's .myshopify.com URL and authorize Mammoth in Shopify. Open it from Data Library > New dataset > Connectors and search for Shopify. Project Admins create the connection; Project Editors can start datasets from a connection the project already has. Which connectors you can add depends on your plan.
What you can bring in from Shopify
- The store tables Mammoth can read after you authorize it, and the columns you tick.
- Data you ask for in the Chat, for example "which table has invoice due dates?"
The dataset can refresh daily or only when you ask.
Before you connect Shopify
You need:
- A Shopify store.
- A Shopify account that is allowed to authorize third-party app access to the store.
- The store's permanent
.myshopify.comURL. Every store has one, even with a custom domain; Shopify lists it as your "myshopify.com domain".
Connect Shopify to Mammoth
These steps follow the shared flow in Connect a database or app.
- Go to the Data Library and click New dataset.
- Choose Connectors.
- Search for Shopify and click its tile. The connector workspace opens with the Chat showing.
- In the Chat, Mammoth shows a card that asks for your store URL. Enter it in Shop URL.
- Click Connect. Mammoth sends you to your store's authorization page.
- Review the requested permissions and authorize Mammoth. You return to Mammoth with the connection active.
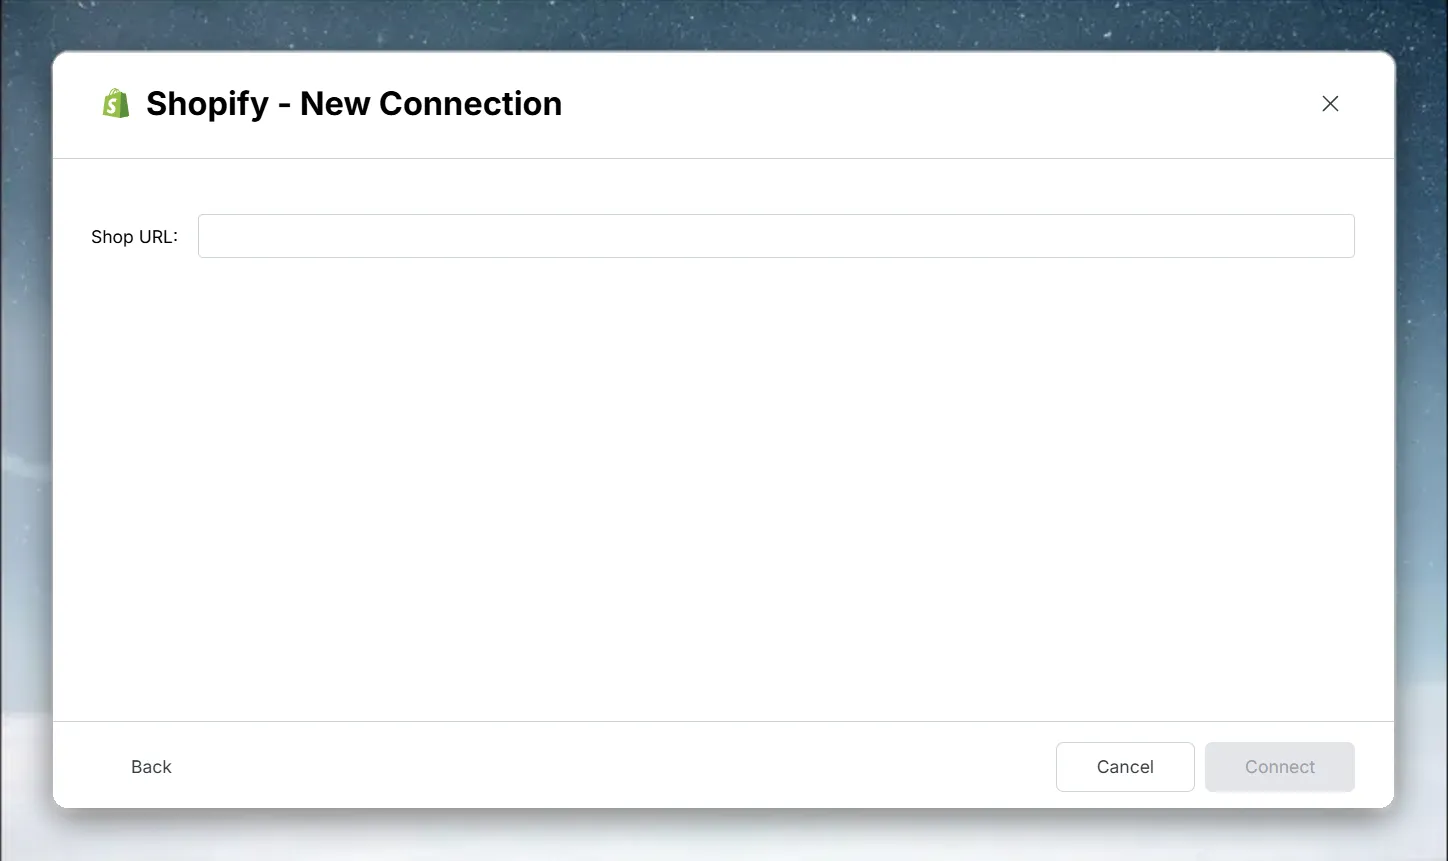
| Field | What to enter | Example |
|---|---|---|
| Shop URL | Your store's .myshopify.com URL, including https:// | https://mystore.myshopify.com |
Use the .myshopify.com format, not a custom domain such as www.mystore.com.
Pick Shopify tables and columns
- In Tables, click a table to see its columns and sample rows.
- Tick the columns you want. They gather in Your table.
- Click Preview 100 rows to check the result.
If you're not sure which table holds what you need, ask in the Chat.
Save Shopify data as a dataset
- Click Save as dataset.
- Enter a Dataset name and choose a folder under Save in.
- Choose Daily to refresh the dataset every day, or Manual to refresh it only when you ask.
- Click Save. When the dataset is ready, click Open dataset.
Refresh Shopify data and add only new records
Choosing Daily creates a Dataset Refresh automation for the dataset. To run it on another schedule, edit that automation. For a dataset saved with Manual, create a Dataset Refresh automation yourself.
After you save, the dataset's Update method setting offers these options:
| Update method | What it does |
|---|---|
| Replace all data | Rebuilds the dataset from the source on every refresh |
| Add new rows only | Keeps your rows and adds rows above the last value of a Key column |
| Keep only the newest rows | Empties the dataset, then brings in rows since the last refresh (needs a Key column) |
A key column is a numeric or date column whose values only go up, such as an ID or a date. For large stores, switch to Add new rows only with a key column, so each refresh adds only new records instead of replacing the whole dataset.
Troubleshoot Shopify connections
| Symptom | Likely cause | Fix |
|---|---|---|
| "Please enter a valid URL" | The Shop URL isn't a valid URL | Enter the full URL, including https:// |
| Authorization doesn't complete | You closed the tab or denied access | Start the connection again |
| Authorization doesn't complete | You entered a custom domain | Use the .myshopify.com URL, for example https://mystore.myshopify.com, not www.mystore.com |
| Your account can't authorize the app | The account lacks permission for third-party apps | Ask the store owner to authorize Mammoth, or to give your account permission to authorize third-party apps |
Related
- Connect a database or app: the shared connector workspace steps.
- Manage saved connections: reuse, edit or delete this connection.
- Refresh a dataset: change when the dataset refreshes.
- Speed up pipelines and connectors: incremental refresh for large stores.
- Connector reference: every source Mammoth connects to.
Something wrong? support@mammoth.io